Why Prep Outweighs Everything Else
Many homeowners invest in premium paint and quality brushes, then rush the prep - and end up with results that peel, streak, or show every imperfection underneath. The reality is that paint is unforgiving: it amplifies whatever surface it touches, both the good and the bad.
A properly prepped wall allows paint to bond evenly, dry uniformly, and hold up over time. Skipping steps - even small ones like wiping down a wall before painting - almost always creates visible problems that require a second round of work to correct. Think of prep as the foundation; paint is just the finish coat.
If you're painting as part of a larger refresh, see our room evaluation checklist to make sure the walls are the right priority before you begin.
Best Practices for Preparing Interior Walls
Each of the following steps addresses a specific failure point that causes paint jobs to fall short. Work through them in order for the best outcome.
Clean every wall surface before touching it with tape, primer, or paint.
Dust, grease, and household grime create a barrier between the wall and paint, leading to poor adhesion and uneven sheen. Kitchens and bathrooms are especially prone to residue buildup that's invisible until it causes problems. Cleaning takes minutes but prevents hours of rework.
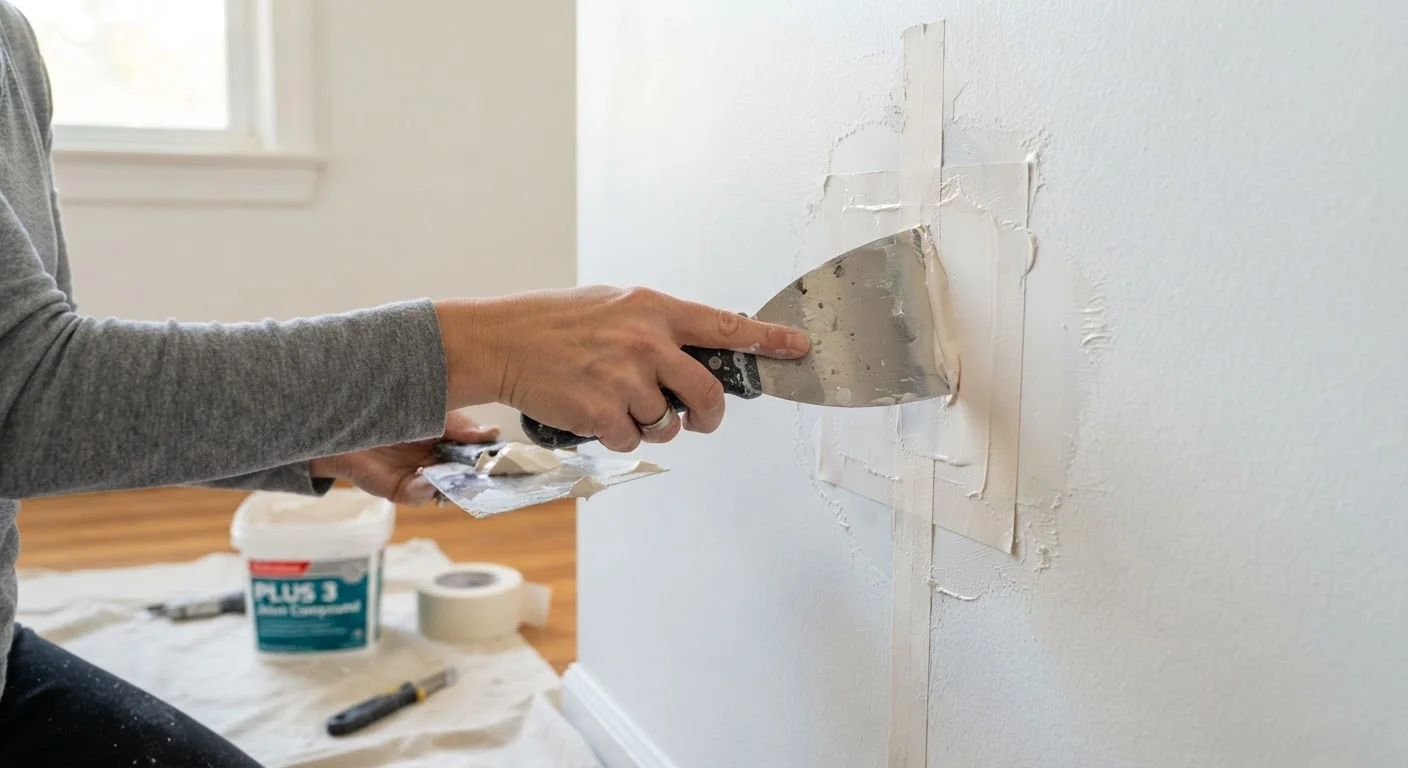
Fill all holes, cracks, and dents with an appropriate patching compound.
Paint does not fill surface imperfections - it highlights them. Even small nail holes become visible shadows under certain lighting conditions. Addressing these before painting is the single most impactful visual upgrade you can make.
Sand patched areas and any glossy surfaces before applying primer or paint.
Unsanded patches create bumps that catch light awkwardly, and existing glossy paint won't accept new paint without mechanical abrasion. Light sanding creates the tooth - meaning micro-texture - that paint needs to grip the surface properly.
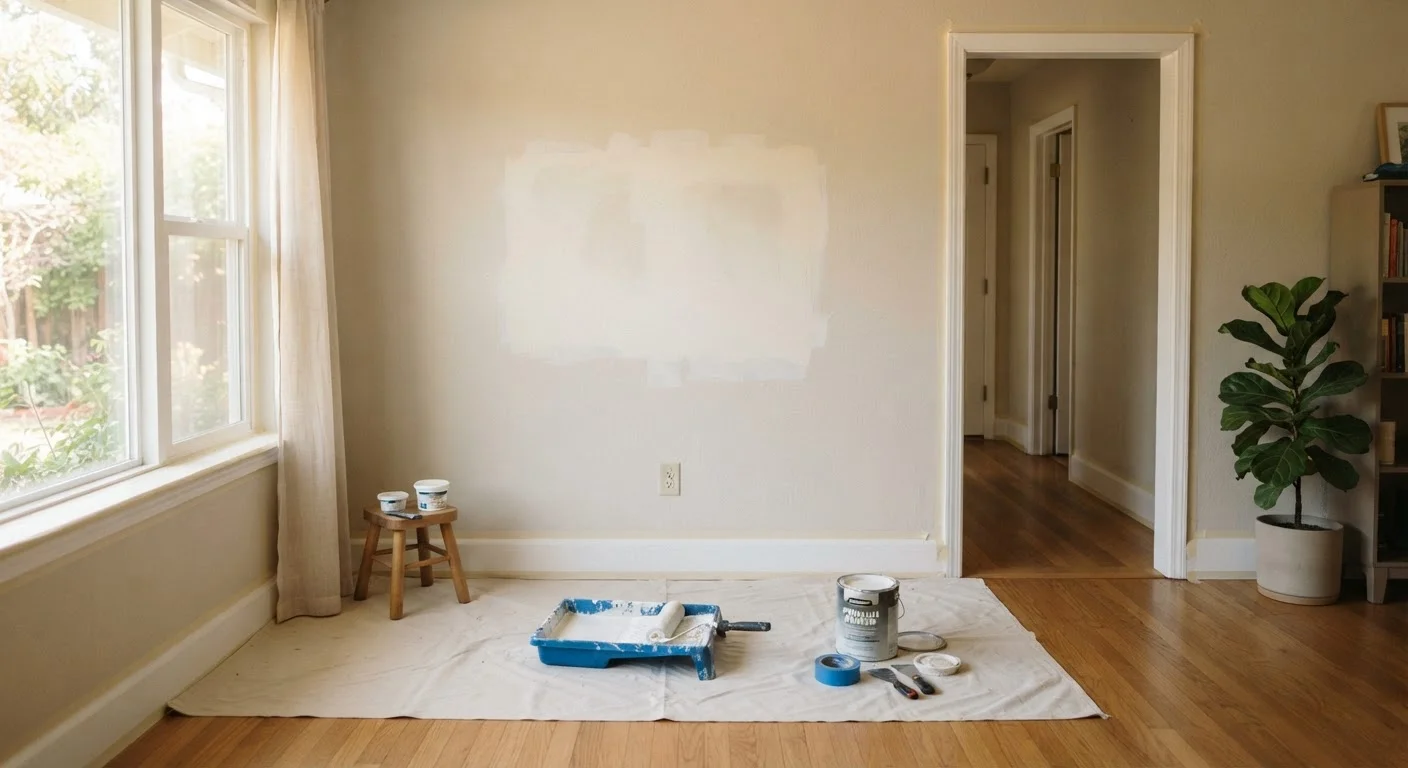
Apply primer before painting, especially on new drywall, patched areas, or significant color changes.
Primer seals porous surfaces, ensures uniform paint absorption, and dramatically improves coverage. Skipping primer on bare drywall or patches causes those spots to absorb more paint and appear duller than the surrounding surface - a defect called flashing.
Mask edges, trim, and adjacent surfaces with painter's tape and drop cloths.
Careful masking protects surfaces you don't want painted and allows you to cut in crisp lines with confidence. Rushing this step creates overspray and bleeds that are difficult to remove cleanly after the fact.
Allow adequate drying time between every coat and at every stage.
Applying paint over wet primer, or a second coat over a still-tacky first coat, causes lifting, streaking, and bubbling. Patience between coats is not optional - it's structural to the process.
Quick Wins You Can Do Before the Paint Can Opens
Even if you're short on time, these targeted actions will noticeably improve your results with minimal effort.
Once your walls are beautifully painted, you may want to think about color direction. Our guide on warm vs. cool interior palettes can help you choose a finish that works with your home's natural light.
From Prep to Finished Room
Good prep work pays dividends well beyond the paint job itself. A smooth, clean, well-primed surface makes every decorating step that follows - hanging artwork, adding trim accents, styling shelves - look more intentional and polished.
If you plan to hang a gallery wall after painting, check out our article on common gallery wall mistakes so the finished display complements your fresh walls rather than fighting them. And if you're starting a room from scratch after the paint dries, our guide on decorating a room from a blank slate walks you through the next phase with the same level of practical detail.
Prep is rarely glamorous, but it's the single decision that most reliably separates a paint job that impresses from one that disappoints.