Understanding the Damage Before You Start
Not all drywall damage is created equal, and choosing the wrong repair method is the most common reason patches remain visible after painting. The first step is an honest assessment of what you're dealing with. Run your hand over the damaged area, measure it, and check whether the drywall paper facing is torn, since torn facing changes how compound bonds to the surface.
A general rule of thumb breaks repairs into three categories:
- Minor damage (under ½ inch): Nail holes, small screw pops, and hairline cracks.
- Medium damage (½ inch to 6 inches): Doorknob dents, popped corner beads, and accidental punctures.
- Large damage (over 6 inches): Fist-sized holes, water-damaged sections, or impact damage that crumbles the core.
Once you've categorized the damage, gather your materials before touching anything. Working with the right tools from the start makes the job faster and the result far more professional.
What you will need
Tools and Materials You'll Need
The specific materials shift depending on hole size, but the core toolkit stays consistent across most repairs. Having everything on hand before you mix a single batch of compound will prevent frustrating mid-project supply runs.
Putty knife or drywall knife (4-6 inch)
Applies and feathers joint compound smoothly across the repair area.
Lightweight spackling compound
Used for filling minor holes and nail pops quickly with minimal shrinkage.
All-purpose joint compound (mud)
Covers mesh patches and drywall inserts; applied in multiple thin coats for a flush finish.
Self-adhesive fiberglass mesh patch
Provides a rigid backing for medium-sized holes without requiring separate hardware.
Drywall scrap and backing strips (wood or metal)
Creates structural support for large hole repairs by anchoring the replacement drywall piece.
Sanding sponge or 120-grit sandpaper
Smooths dried compound between coats and before priming.
Drywall primer
Seals the repaired area so paint absorbs evenly and prevents visible flashing.
Step-by-Step Repair Instructions
Follow these steps in order. The method adjusts at Step 2 depending on your damage category - the finishing and sanding process is the same regardless of which approach you use.
Clean and Prepare the Damaged Area
Remove any loose drywall, torn paper, or crumbling core from around the damage. Use a utility knife to trim ragged edges on medium and large holes so you have clean, stable borders to work against. Dust the area with a dry brush. If there's any grease or residue (common near kitchens or doors), wipe the surrounding wall with a slightly damp cloth and let it dry completely before applying any compound.
Choose and Apply the Correct Repair Method
Apply the repair approach that matches your damage category:
- Minor holes (under ½ inch): Apply a small amount of lightweight spackling with a putty knife, slightly overfilling the hole. Smooth it flush and allow it to dry per the product's guidance.
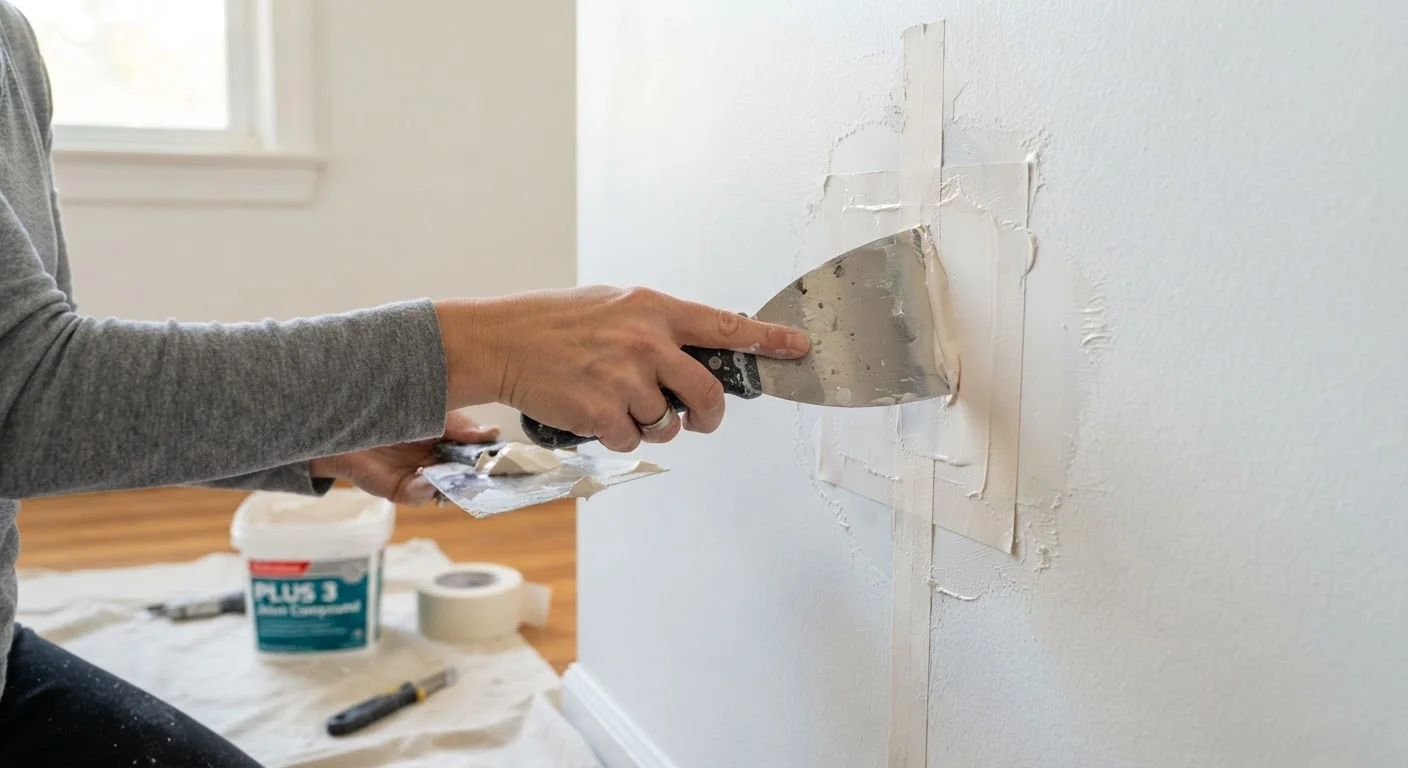
- Medium holes (½ inch to 6 inches): Center a self-adhesive fiberglass mesh patch over the hole, pressing it firmly. Apply a thin coat of all-purpose joint compound over the mesh, extending 2-3 inches beyond its edges in all directions.
- Large holes (over 6 inches): Cut the damaged area into a clean rectangle with a drywall saw. Cut two wood or metal backing strips longer than the hole's height, insert them through the opening, and screw them to the existing drywall on each side. Cut a drywall piece to fit the opening exactly, screw it to the backing strips, and tape the seams with paper or mesh tape before applying compound.
Apply Compound in Thin, Feathered Coats
Once the base layer is dry (it will turn from gray/beige to white), apply a second coat of joint compound. Use your knife at a shallow angle to feather - meaning gradually thin - the compound edges several inches beyond the patch. Each successive coat should be slightly wider than the previous one. Most repairs need two to three coats. For large patches with tape, a third skim coat over the entire area produces the flattest result.
Sand, Prime, and Paint
Once the final coat is fully dry, sand the area lightly with a 120-grit sanding sponge using circular motions. Wipe away dust with a barely damp cloth and let the surface dry. Apply a coat of drywall primer and allow it to cure. Finish with the matching wall paint - you may need two coats to achieve a color match, especially on older walls where the existing paint has faded slightly.
Common Mistakes That Leave Patches Visible
Even when the mechanical repair is solid, the finishing stage is where most DIY patches go wrong. The most frequent culprit is applying compound too thick in a single coat. Joint compound shrinks as it dries, and a heavy application will crack, requiring you to start over.
Other problems to avoid:
- Skipping primer before painting: Unprimed compound absorbs paint differently than the surrounding wall, creating a dull spot called flashing even after two coats of paint.
- Sanding too aggressively: Over-sanding breaks through the paper facing of surrounding drywall, creating a new texture problem.
- Not feathering far enough: Compound edges that stop abruptly show as ridges under raking light. Extend each coat several inches beyond the previous one.
- Rushing dry time: In humid conditions, compound can feel surface-dry while still wet underneath. Use a fan or wait the full recommended time before sanding.
Take your time on the finish coats - the mechanical part of the repair is just the foundation. The invisible result comes from patient compound work.