Why Composting Is Worth the Effort
Composting is one of the most impactful things a home gardener can do. By diverting food scraps and yard waste from the landfill, you create a free, nutrient-dense soil amendment that improves drainage in clay soils, boosts moisture retention in sandy soils, and feeds the beneficial microorganisms that healthy plants depend on.
If you're starting a vegetable garden from scratch, finished compost worked into your beds before planting gives seedlings the best possible start. It's also an ideal top-dressing for established flower beds and lawn areas.
The process itself is straightforward: organic matter breaks down through microbial activity, and what you're left with - called humus - is sometimes called "black gold" by gardeners for good reason. You don't need a big yard or expensive equipment to get started.
Keep a Small Bin on Your Kitchen Counter
A dedicated countertop scrap collector makes it easy to capture vegetable trimmings, coffee grounds, and eggshells without making multiple trips outside each day. Empty it into your outdoor pile every two to three days to prevent odors. Many options are available in ceramic, stainless steel, or compostable liner styles - choose whatever fits your routine.
What You Need Before You Start
Gather a few basics before setting up your pile. You'll need a dedicated space or container, a mix of materials, and a simple tool or two. The right location makes a genuine difference: choose a spot with partial shade that's convenient to the kitchen but not directly against your home's foundation.
What you will need
Compost bin or tumbler
Contains the compost pile, speeds up decomposition, and helps deter pests.
Countertop scrap collector
Holds kitchen scraps conveniently until you're ready to transfer them to the outdoor pile.
Garden fork or pitchfork
Used to turn and aerate the pile, which accelerates decomposition.
Garden hose or watering can
Keeps the pile at the right moisture level - similar to a wrung-out sponge.
Step-by-Step: Building and Maintaining Your Compost Pile
Follow these steps to start a productive compost pile from scratch. Consistency matters more than perfection - even an imperfect pile will eventually break down into usable compost.
Choose and position your bin
Select a spot that receives partial shade and is within easy reach of your garden beds. Place your bin directly on bare soil - not concrete - so beneficial worms and microbes can migrate in naturally. If you're using a homemade open pile, mark out a space roughly 3 feet by 3 feet, which is the minimum size for a pile to generate enough heat to decompose efficiently.
Lay a foundation of coarse browns
Start with a 4-6 inch layer of coarse brown material - wood chips, straw, or small twigs - at the base. This layer improves airflow from the bottom up, which is essential for aerobic decomposition. Browns are carbon-rich materials and include dry leaves, cardboard (torn into pieces), newspaper, and paper bags.
Add your kitchen scraps and greens
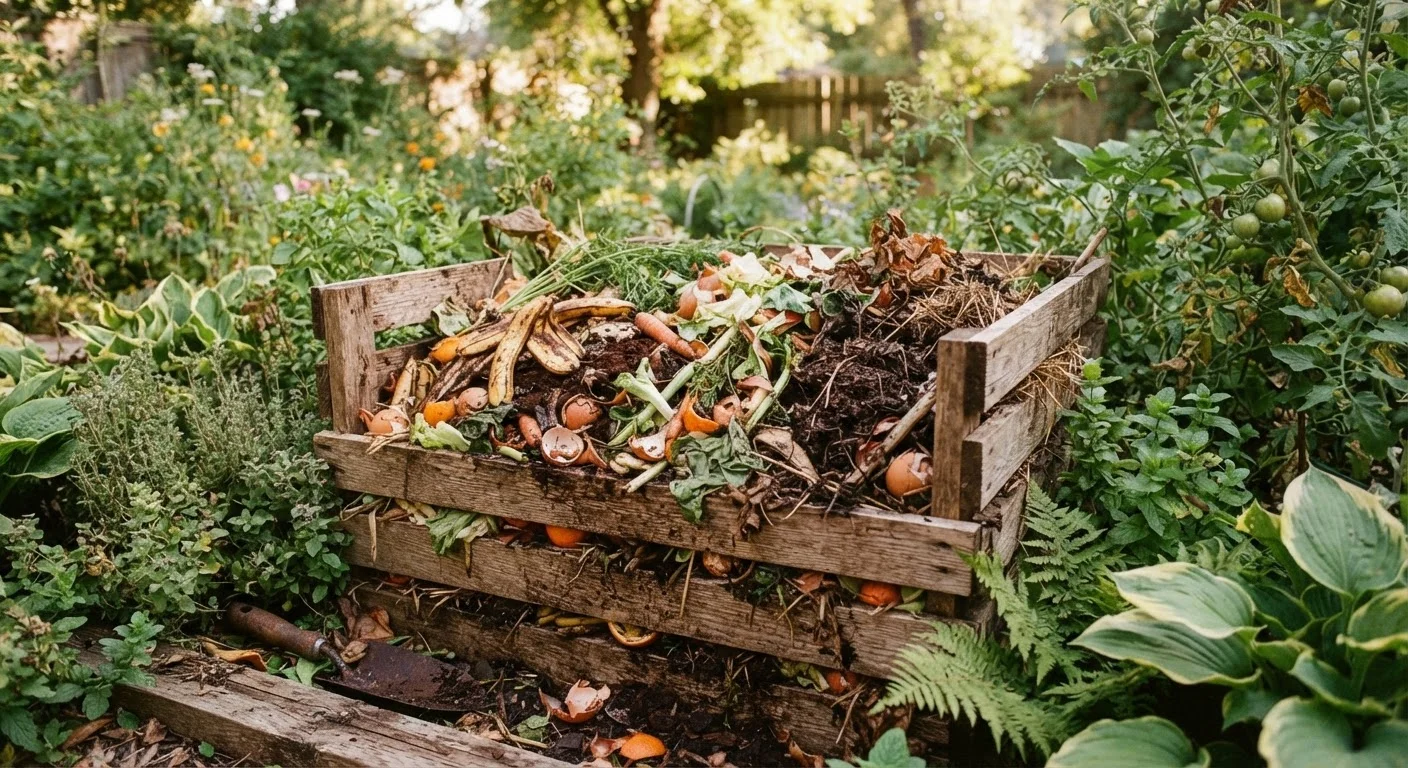
Layer nitrogen-rich "greens" on top of your browns. Good greens include vegetable and fruit peels, coffee grounds and paper filters, loose-leaf tea, eggshells, and fresh grass clippings. Aim for roughly a 3:1 ratio of browns to greens by volume - this carbon-to-nitrogen balance is what drives efficient decomposition. Avoid meat, fish, dairy, oily foods, and pet waste, which can attract pests and create odors.
Moisten the pile
After adding materials, check the moisture level by squeezing a handful of compost. It should feel like a wrung-out sponge - damp but not dripping. If it's too dry, sprinkle water evenly over the pile. If it's waterlogged after heavy rain, turn it and add dry browns to absorb excess moisture.
Turn the pile regularly
Use a garden fork to turn the pile every 1-2 weeks, moving material from the outer edges toward the center where heat is highest. Turning introduces oxygen, which feeds aerobic microbes and speeds up breakdown. An actively managed pile can generate internal temperatures between 130°F and 160°F - hot enough to break down most weed seeds and pathogens.
Harvest finished compost
After two to three months of active management - or longer if you turn less frequently - check the bottom of the pile for finished compost. It should be dark brown, crumbly, and smell like rich forest soil, with no recognizable food scraps remaining. Scoop it out from the base, leaving any unfinished material in the bin to continue decomposing. Your finished compost is ready to enrich garden beds, support companion planting arrangements, or boost the soil health of any planting project.
Troubleshooting Common Compost Problems
Even well-managed piles run into issues. Here's how to read the signs and correct course quickly.
- Pile smells like ammonia: Too many greens. Add more dry leaves or shredded cardboard and turn the pile.
- Pile smells like rotten eggs: Too wet or compacted, causing anaerobic (oxygen-deprived) breakdown. Turn thoroughly and add dry browns to improve airflow.
- Nothing is breaking down: The pile is likely too dry. Moisten it and ensure you have enough greens mixed in.
- Pests are getting in: Avoid adding meat, dairy, or cooked foods. If rodents are an issue, switch to a fully enclosed bin with a solid base.
Once your compost is finished - dark, crumbly, and earthy-smelling - work it into garden beds, use it as mulch around perennials, or mix it into potting blends for container gardening projects. In autumn, it pairs well with a thoughtful fall garden cleanup routine to prep beds for the following spring.