The Most Common Window Weatherproofing Mistakes
Every fall, millions of homeowners reach for caulk guns and weatherstripping rolls, determined to stop drafts before winter arrives. The effort is worthwhile - air leakage through windows and doors can account for a significant share of a home's heating and cooling loss. But the execution often goes wrong in predictable ways, and some well-meaning fixes actually create new problems.
Building science research consistently shows that the biggest air-leakage culprits around windows aren't the glass or the sash - they're the rough openings where the window frame meets the wall framing, and the joints between the interior trim and the drywall. Many homeowners focus their energy on the wrong spots entirely. Understanding where leaks actually originate, and which materials hold up over time, makes the difference between a repair that lasts years and one that fails by spring.
See our seasonal home maintenance checklist for a full-year schedule that includes window inspection alongside other key tasks.
Myth
Caulking directly over old caulk is a quick, effective fix that saves time.
Fact
Layering new caulk over old almost always leads to early failure; the old material must be fully removed first.
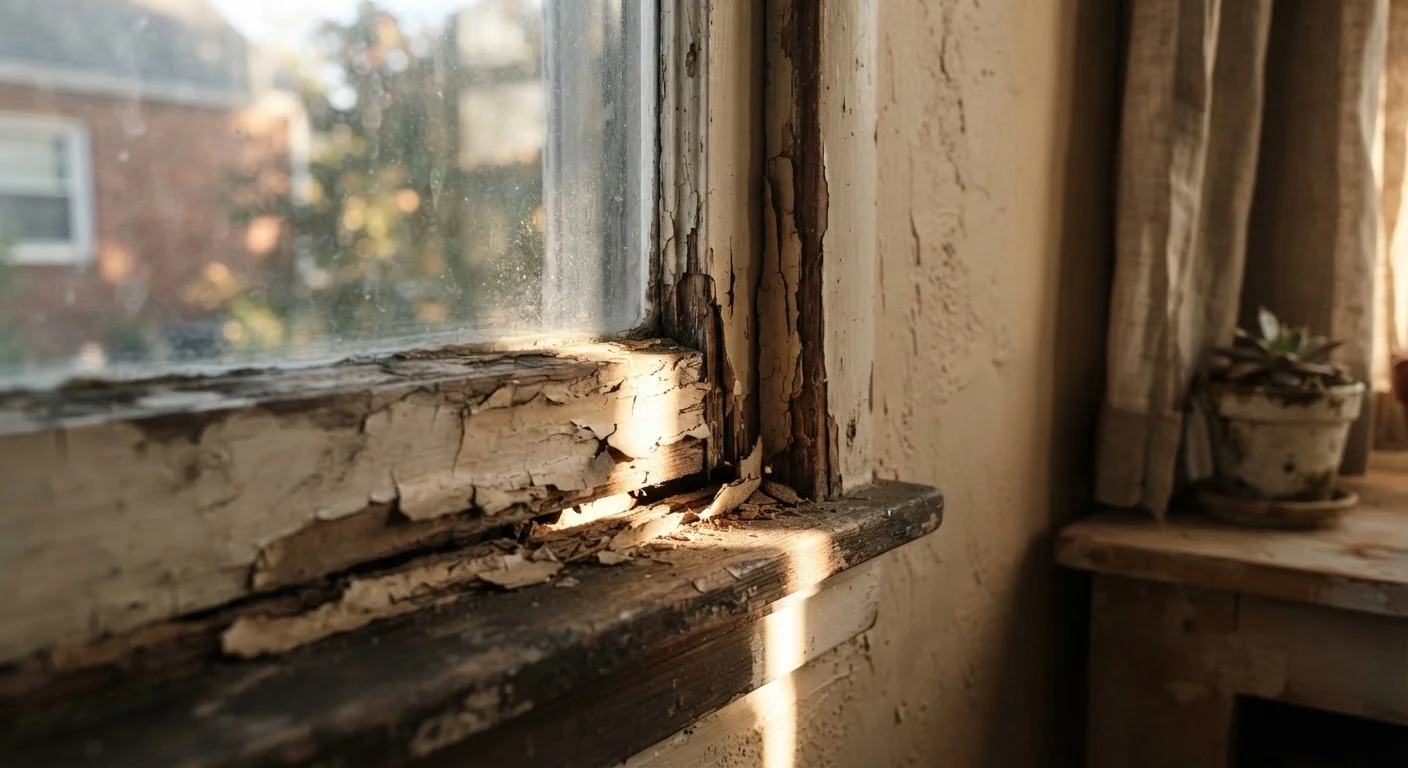
Old caulk that is cracked, shrunken, or pulling away from the surface has lost adhesion. Applying new caulk on top bonds to the failed layer, not to the window frame or wall - so the new bead peels away just as quickly. Use a plastic scraper or caulk-removal tool to clear the old material completely, then clean the surface with rubbing alcohol before applying a fresh bead. This extra step typically adds only 15-20 minutes but dramatically extends the life of the repair.
Myth
Plastic window film kits are a cheap, ineffective gimmick - real solutions involve replacing the window.
Fact
Interior window film kits are a legitimate, energy-saving measure validated by building-science research.
When installed correctly, interior shrink film creates a dead-air space that acts as an additional insulating layer, reducing drafts and heat loss noticeably. For older single-pane windows, film kits can be a practical bridge measure while full replacement is planned or budgeted. They are not a permanent substitute for a well-functioning window, but dismissing them as gimmicks ignores real-world performance data. The key is careful installation - gaps or bubbles in the film significantly reduce effectiveness.
Myth
More caulk is always better - thick, generous beads seal gaps more completely.
Fact
Oversized caulk beads are harder to tool, more prone to cracking, and don't seal better than a correctly sized bead.
Caulk is designed to work within a specific thickness range - usually between one-eighth and three-eighths of an inch. A bead that is too thick takes much longer to cure fully, shrinks more as it dries, and is more likely to crack or pull away from one surface. For gaps wider than three-eighths of an inch, the correct approach is to first fill with backer rod, then apply a properly sized caulk bead over it. This produces a more durable seal than trying to bridge the gap with caulk alone.
Myth
Sealing windows as tightly as possible is always the right goal.
Fact
Over-sealing without considering whole-home ventilation can trap moisture and degrade indoor air quality.
Homes need a controlled, minimum level of air exchange to dilute indoor pollutants and manage humidity. When windows and doors are sealed very tightly - particularly in older homes not built with mechanical ventilation - moisture from cooking, bathing, and breathing can accumulate, leading to condensation, mold growth, and structural damage over time. The goal is controlled air sealing, not total elimination of airflow. If you're making significant improvements to a home's envelope, consulting an energy auditor about ventilation is a practical safeguard.
Myth
Drafts from windows always mean the window itself is the problem.
Fact
Many window drafts originate at the rough framing opening or interior trim gaps, not the window unit itself.
The junction between a window's exterior frame and the surrounding wall framing is often filled with degraded foam or fiberglass insulation that has settled or deteriorated over time. Similarly, the gap between interior trim and drywall is a common but overlooked infiltration point. Addressing these perimeter leaks with appropriate caulk or low-expansion spray foam (on the exterior side, where accessible) can eliminate drafts that the window's own weatherstripping could never fix, because the air isn't actually passing through the operable sash at all.
Getting Weatherproofing Right: What Actually Works
Once you've cleared up the misconceptions, the practical path forward is straightforward. Start by identifying where air is actually entering. On a cold, windy day, hold a thin piece of tissue or a lit incense stick near the window perimeter - movement or flickering reveals the real leak points. Pay close attention to the corners of the frame and the line where interior trim meets the wall surface.
For gaps wider than about a quarter-inch, install foam backer rod (a compressible foam cord available at hardware stores) before applying caulk. This gives the caulk something to bond to on both sides, creating a proper two-point bond rather than a three-point bond that leads to cracking. For a deeper look at why caulk fails prematurely and how to apply it correctly, see our guide on why your caulk keeps cracking.
Match your weatherstripping to the window type. Compression-style foam or rubber strips work well for double-hung windows; V-strip (tension seal) weatherstripping is generally better for sliding channels. Always clean and dry surfaces thoroughly before applying adhesive-backed products - adhesion failure on a dirty or damp surface is the leading reason weatherstripping peels away within a season.
Avoid Expanding Foam Inside the Window Frame
Standard expanding spray foam can exert significant pressure as it cures. If used inside a window's rough opening cavity improperly, it can warp the window frame and prevent sashes from operating correctly. Always use a 'minimal-expanding' or 'window and door' formula specifically labeled for this purpose, and apply it conservatively. When in doubt, consult a contractor before using spray foam near window or door frames.
Finally, if your home is older or tightly sealed, make sure any weatherproofing work doesn't inadvertently eliminate the small amount of controlled airflow that prevents indoor moisture buildup. A qualified energy auditor can assess your home's overall ventilation balance - a worthwhile step before undertaking major sealing projects.