Why Caulk Failure Is Almost Never Random
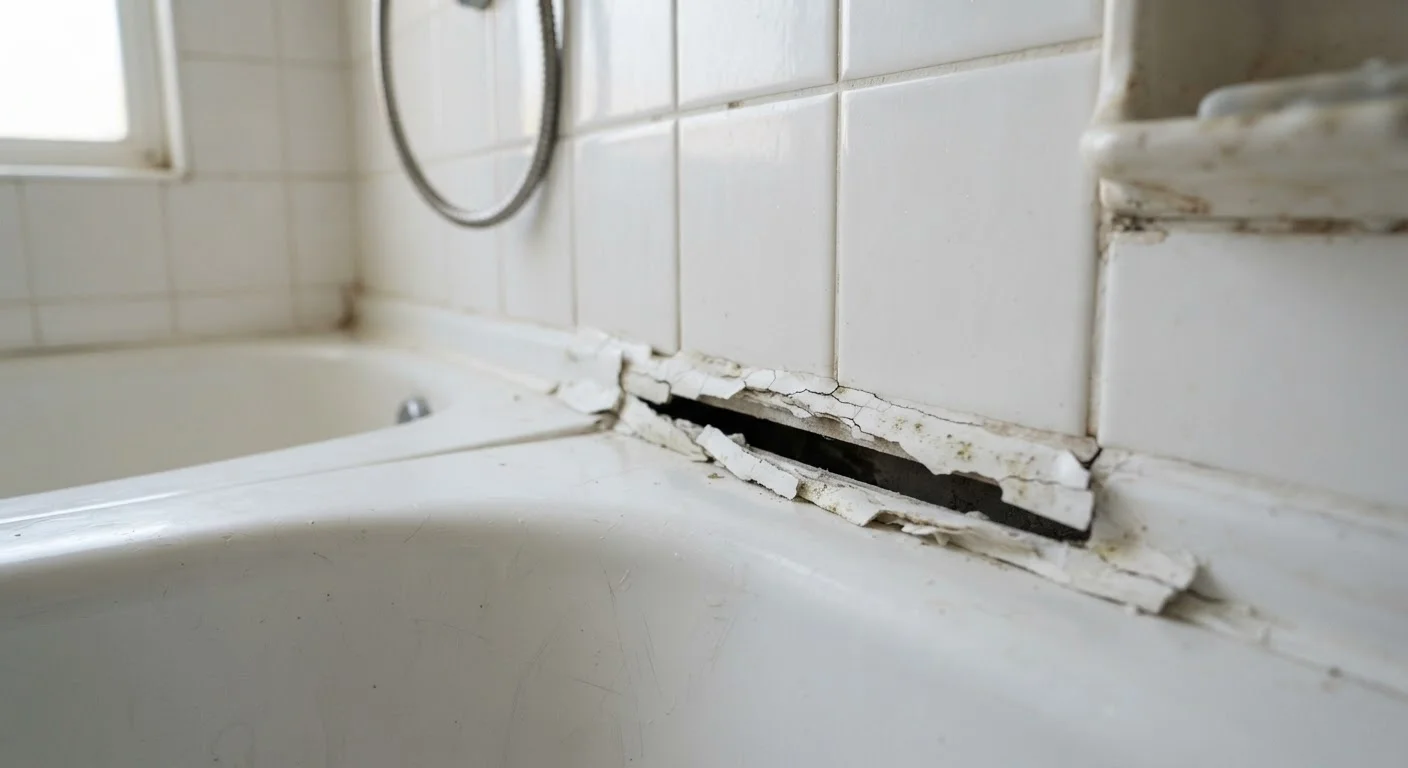
When caulk starts cracking just weeks or months after you applied it, the instinct is to blame the product. In reality, caulk fails for predictable reasons - nearly all of them related to surface preparation, product choice, or application technique. Understanding those reasons puts you in control of a lasting repair.
Caulk is designed to be a flexible, waterproof bridge between two surfaces that expand and contract at different rates - think tile and a bathtub rim, or wood trim and a window frame. When that bridge cracks, it's usually because something prevented it from bonding correctly in the first place, or because the wrong material was asked to do a job it wasn't built for.
For a broader look at how sealing mistakes play out around windows specifically, see our guide to weatherproofing window mistakes.
The Most Common Caulking Mistakes - and How to Fix Them
The mistakes below account for the vast majority of cracked, peeling, and bubbling caulk jobs in American homes. Work through them honestly before your next application.
Applying caulk over an old, dirty, or wet surface.
Why it happens: Many homeowners simply run a new bead over existing caulk to save time, not realizing that adhesion depends entirely on direct contact with a clean, dry substrate.
Using the wrong type of caulk for the location.
Why it happens: Caulk packaging looks similar across product types, and many people default to a general-purpose or paintable latex caulk regardless of where it's going.
Filling gaps that are too large for a single caulk bead.
Why it happens: Caulk seems like a versatile filler, so it's tempting to use it on gaps that are actually too wide or deep for it to bridge reliably without cracking.
Caulking over surfaces that flex or move significantly.
Why it happens: Homeowners sometimes caulk areas where the real problem is structural movement or loose fixtures, expecting the caulk to compensate for underlying instability.
Applying caulk in very cold or very hot conditions.
Why it happens: Caulking is often done as a quick fix during seasons when temperature extremes are common, and product temperature requirements are rarely checked.
Getting the Application Right the First Time
~1/4"
Maximum gap width suited for caulk alone
Building material guidance consistently notes that gaps wider than a quarter inch require backer rod to prevent caulk from cracking under its own weight and movement.
24-48 hrs
Typical cure time before water exposure
Most silicone and siliconized latex caulk manufacturers specify a minimum cure window of one to two days before the joint should be exposed to moisture.
Even when homeowners choose the right caulk and prep the surface well, poor application technique can undermine the whole job. A few habits make a meaningful difference.
Cut the tip at a shallow angle. A cut angled at around 45 degrees, with a small opening no wider than the gap you're filling, gives you far more control than a wide-open tip. Excess caulk that gets pushed to the sides instead of into the joint is a common setup for cracking.
Tool the bead before it skins. Immediately after laying the bead, smooth it with a wet finger or a dedicated caulk tool. This presses caulk into the joint, improves surface contact, and removes air pockets that crack as the material cures.
Respect the cure window. Check the product label and wait the full recommended cure time - typically 24 to 48 hours for silicone, sometimes longer in cool or humid conditions - before exposing the joint to water or stress. Rushing this step is one of the most avoidable causes of early failure.